
Using Claude Code to Manage Your Obsidian Vault

 Claude Code
I’ve been seeing many posts and videos talking about using Claude Code to manage their local Obsidian vaults.
I played around with this and found it potentially very valuable for someone (like me) who enjoys making notes but doesn’t enjoy the organization of said notes. Or for processing meeting notes and other work-related data and acting as a project manager assistant that handles all the grunt work I would rather not do myself.
{{more}}
If you consider Claude Code to be a developer’s tool, you wouldn’t be wrong, but what Claude Code really does is work with local files. That includes markdown files, making it a great tool for note takers who are following the File overApp philosophy.
If your initial reaction is something like, “I’ll never use AI to write my notes,” then I’ll say I agree, but you should look at the other possibilities. You can instruct Claude to never write your notes, only organize them, and provide assistance following your specific instructions.
I’m not a heavy user of Obsidian (yet). Recently, I started using Obsidian for writing my blog posts and then publishing them to Ghost using the Ghosty Posty plugin. So, I thought of a few ways I could potentially use Claude Code to help me out (without doing any of the writing). I’m not going to talk about them yet, but I want to first spend some time with it and see what works for me.
Installing Claude Code
Here’s how to get started. I’m not going into detail here because there are so many variables (Mac or Windows, etc.). You can search or use Claude, to give you the exact steps for your scenario.
Here are the high-level steps I took on my Windows PC:
- Open the Terminal on your machine.
- Install Claude Code per the official documentation.
- Authenticate when prompted.
- While in the terminal, navigate to your Obsidian Vault root folder.
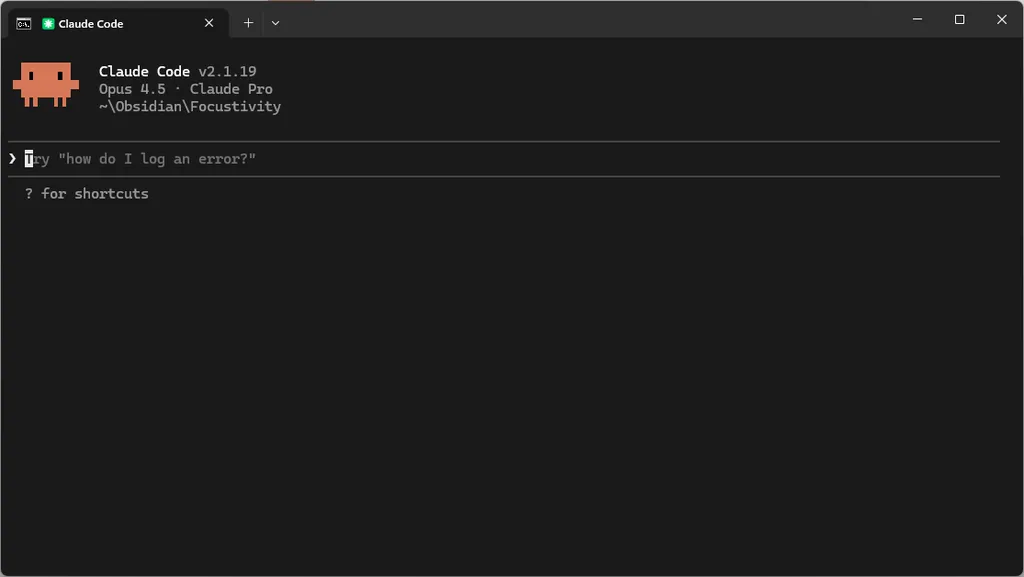
- Enter
claudewhile in your root folder to get started.
Some alternative options include using the Obsidian MCP or Claudian plugins. I haven’t tried these, so I don’t know what advantages or disadvantages they may have.
Create a Terminal Profile
You can create a profile in the terminal that automatically loads Claude Code in your Obsidian Vault so it is ready to go every time.
- Open Terminal Settings.
- Add a new profile.
- New Empty Profile (or duplicate an existing similar profile).
- Give it a good name, e.g., Claude Code—Focustivity.
- Set the Command Line property:
cmd.exe /k cd /d C:\{your obsidian vault root folder} && claude - Set the starting directory:
C:\{your obsidian vault root folder} - Save
Now, every time you load that profile, it will be ready to go. You can also set it as the default profile if you don’t usually use Terminal for other things.
Instructions and Memory
The next thing you’ll want to do is create the CLAUDE.md markdown file in your root directory. This file provides Claude the instructions and memory that tell Claude exactly how you want it to help you in your Obsidian vault.
In the CLAUDE.md file, you’ll want to add the purpose of your vault, how your vault is organized, and each of the processes you use to organize your files. I suggest using Claude Code itself to help you write these instructions.
Help me create my CLAUDE.md file for this Obsidian vault. Ask me questions about how I would like to use this vault. Use the existing file structure and metadata as a guide.
Claude should walk you through some questions and finally update your Claude.md file for you. You can view it directly in Obsidian and make any adjustments you want.
As you use Claude Code, if you tell it to fix something or do something new, you can also ask it to update the instructions so it always knows how to handle the situation going forward. This is powerful and allows you to continually expand Claude’s capabilities and precisely control how it helps you.
More tricks to using Claude Code with Obsidian
- When you want Claude Code to read a specific file or folder, you can use the @ symbol and start typing the name. You’ll be able to pick from a list of results as you type.
- Use the forward slash (/) to open a set of built-in commands.
- If you’re not sure how to use Claude Code, just ask Claude Code!
- Teach Claude Code your preferred workflows, not the other way around.
- Use Claude Code to read through your existing notes and extract your writing style.
- Read through the Claude Code documentation, especially the Quick Start, How Claude Code Works, Best Practices, and Common Workflows.
What’s next?
I’ll continue playing around with Claude Code and will send out a new post with anything I find interesting or useful. If you need any clarification, please let me know!